My husband and I LOVE to fix up our home. We like making our home feel updated, but more importantly, we want it to be unique, fun, charming and a good use of the space for our family.
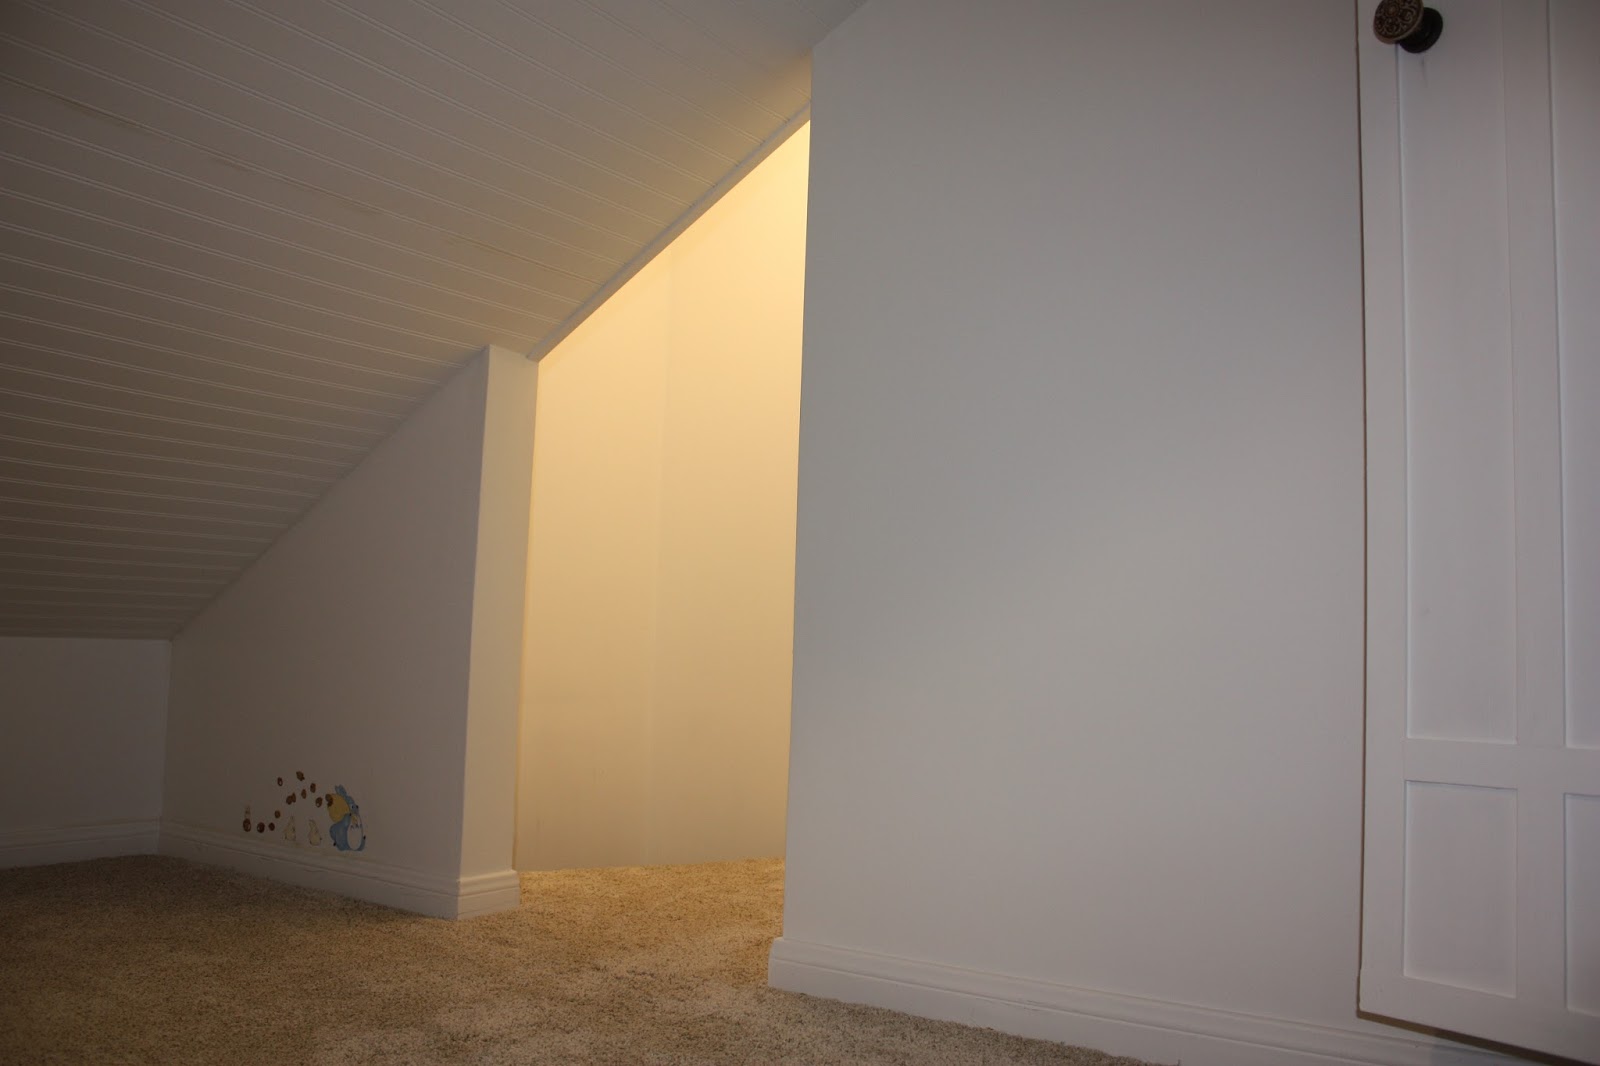
Our new home has two attic spaces. The main one is for all the a/c equipment and water heaters. But the smaller one over our garage was unused. We instantly knew we wanted to finish it for the kids.
The door to the right comes in through a walk-in closet of one of the boy's bedrooms. The slanted entrance is where the climbing platforms from the first floor come out.
Here you can see the two dormer window areas. And did you see my cute little mouse hole that started it all?! Love it!
Love the texture and color of this fabric. When the kids have a campout in the room, these really darken the room perfectly.
The Darling Mouse hole!
We chose a theme of "Studio Ghibli". They're some of our favorite Japanese Films and is something that we all love and our kids were raised on from our few years living in Japan.
Since the walls are slanted and space is tight, I used mod podge to attach the posters to foam board and used mirror mounting clips to secure them to the wall. That way, no corners can catch any heads.
Totoro painting my daughter did.
While planning and dreaming up ideas, we found a 2-story dead space right next to the front door that led right up to this attic space. To say my husband was excited was an understatement! After many (unsafe) but fun ideas, we decided on carpeted platforms, staggered to make it easy and safe to climb up (think McDonald's playareas.)
This is where you head down the climbing passage.
My daughter really wanted to add a cute shop bell at the top to "signal" when the kids are heading down or when they reach the top. It's a cute touch.
Looking down.
The Climbing passage comes out by the front door. It used to be just an art niche, with dead space behind it.
We took out the art niche there, drywalled and added strong supports for the platforms so adults can climb too and then closed it up. I love how the little door turned out! We made sure to add nice surround molding to really dress it up.
All the way up, there are small, in-wall LED lights on each level to keep it from getting too dark.
The cute knobs.
It's so hard to capture the platforms, but this is looking up. They overlap at angles and are carpeted on top and underneath to protect heads.
Here's a darling little video our son made to give you a tour of getting up and down from the attic. It's kind of hard to see going up, but better when he goes down!
https://youtu.be/wwlqBzr5l0A
THE BACKSTORY:
When we had to move from our last house, everyone was sad to leave the slide we had built into the walls to the basement ( see post
HERE ). So we were on the lookout for some fun ways to make this home ours and unique in certain ways.
Almost 6 months ago, I showed my husband the idea of adding a mouse hole somewhere in our house. I just loved the quirky idea of having that fun feature and envisioned swapping out mice and furniture and making it a feature that little kids look forward to seeing each time they visit (I won't say I was envisioning grandkids, but just maybe I was!)
We walked around our home looking for a potential spot for the hole.
While doing that, my husband noticed this huge two-story wall just to the left of our front door. (Sorry the only picture I could find is this listing photo from before we moved in.)
Before:
It only had a recessed art niche and he questioned what could be behind it. After exploring, he could see down that space from an unfinished attic above our 3-car tandem garage.
Sure enough, there was nothing there. Why didn't the builder at least make it a small coat closet? So, that got us dreaming of all kinds of possibilities of how the space could be used to access the attic if we were to finish it. I'm afraid I nixed a few ideas that would totally have been unsafe (like a fireman pole! Eeek! I could just see a two-story fall.) We finally settled on carpeted climbing platforms like the play areas in McDonald's have. It'd be easy to stagger, climb and no one could fall more than a foot or so.
After
This is the outside view of our house. The area above our 3 car tandem garage is the area we finished off into the playroom.
Here is how the attic looked Before:
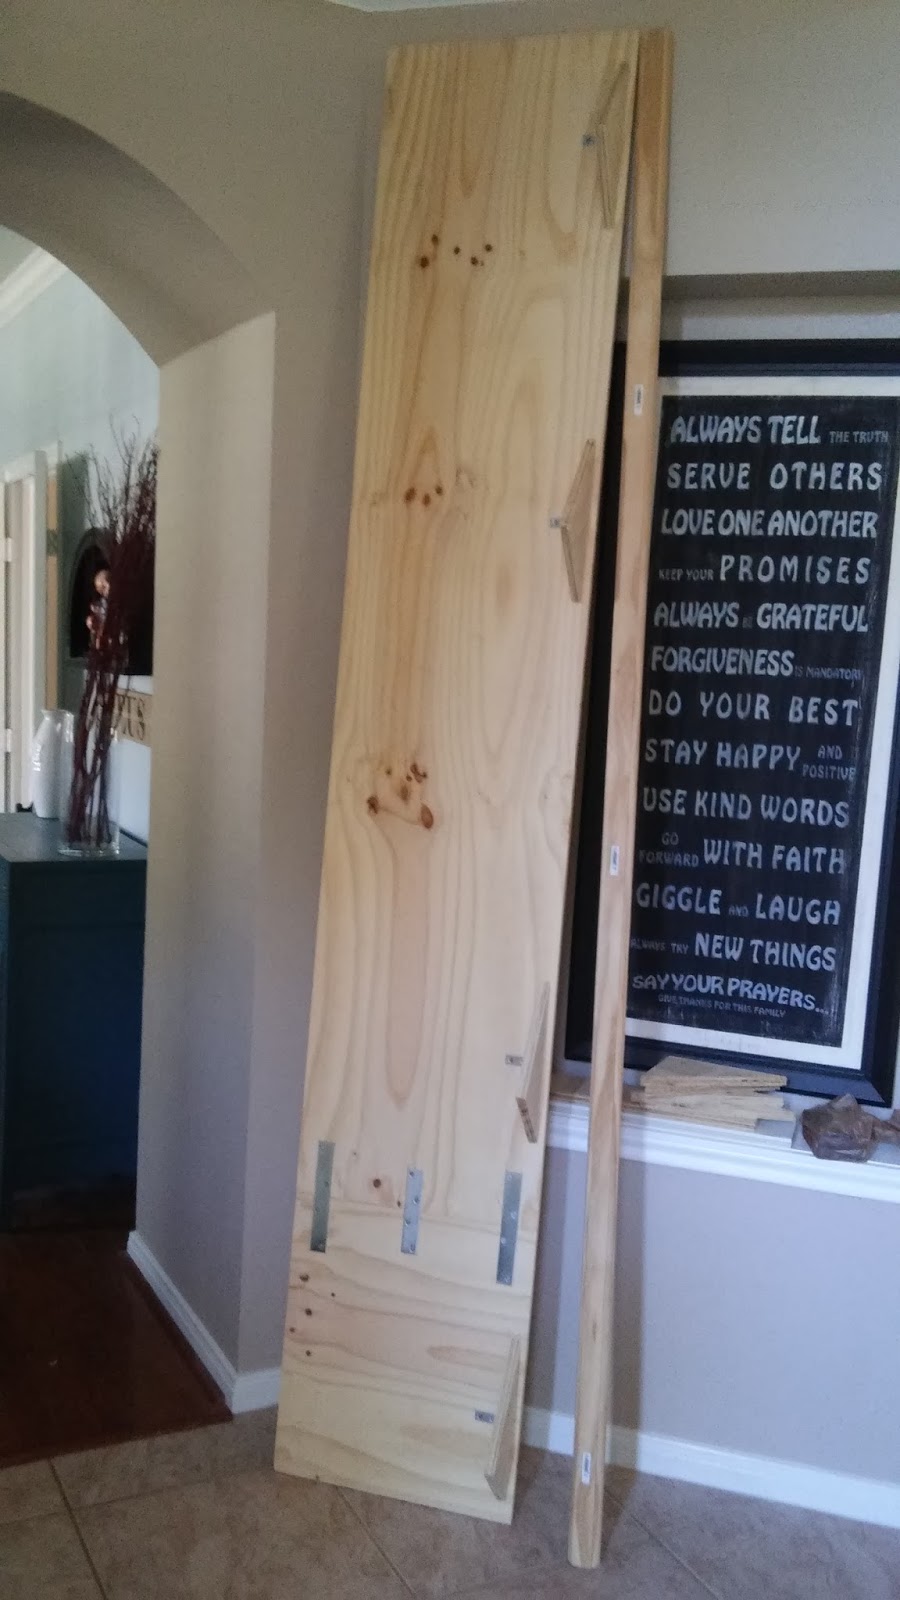
A few wires were rerouted, a few non-load-bearing studs removed, few places reinforced, new outlet and light wiring installed, an a/c line tapped in from the other attic to bring air into the playroom (it is Texas!), floors and walls were insulated, windows scraped of their blackout paint, a second plexiglass layer was added for safety and insulation, then beadboard and drywall put up, painted and finally carpeted.
Before
The original door through the closet was just too small. It was relocated to the far side of the playroom to cover a small unfinished area with wiring we didn't want to relocate.
After:
The Larger entrance door we built.
We're so happy with how it's turned out. The big and little kids love hanging out in it! There are a few spots we want to add a few more decorative details, but mainly it's done. We may not have the wall slide like our last house, but this is definitely unique and fun for everyone.
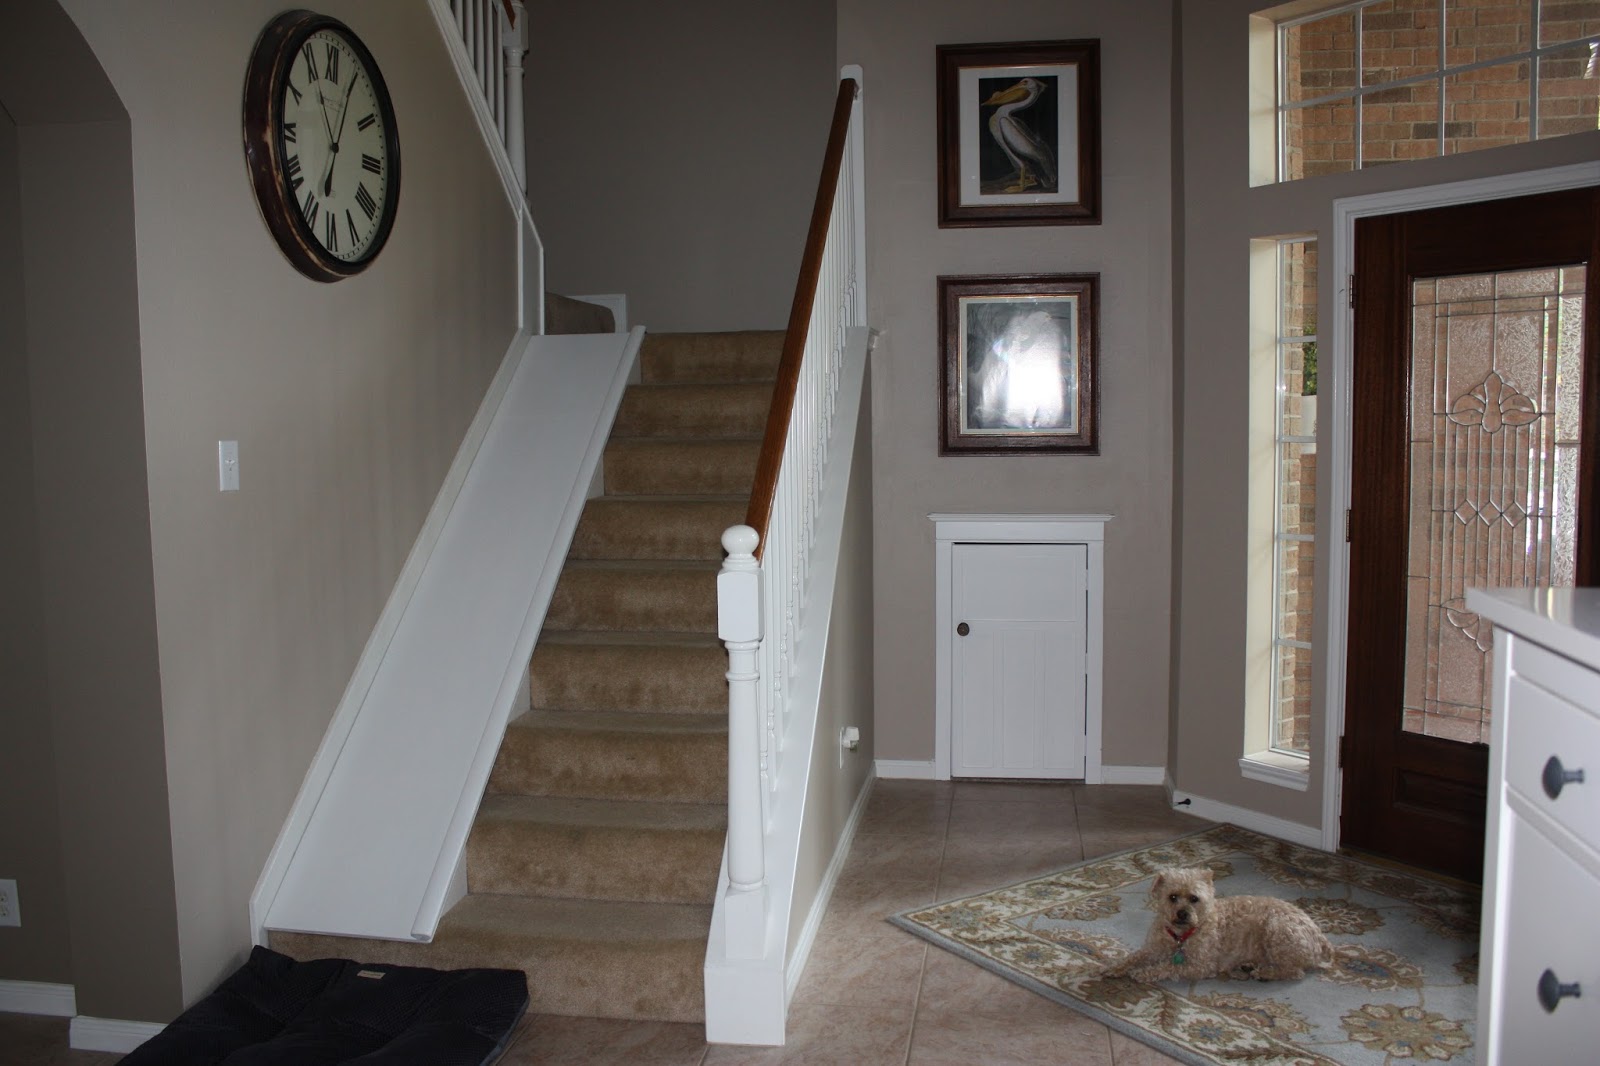
My husband is halfway done with phase II of the "make our house fun" plan. He's adding a simple slide to part of the stairs! I'll post again when it's complete! What a big kid!


