

Our "new-to-us" already had so many beautiful updates done by the previous owners (such sweet people!) However, after a year of looking at the builder grade, peachy tile around the fireplace, I'd had enough! It doesn't really bother me too much on the floor, but somehow with it being up on the wall and center stage, it drove me nuts!

Taking a hammer and pry bar, I quickly got rid of it (and boy, is demo therapeutic!) I had to not only remove the tile, but also cut out the dry wall it was adhered to.

The newer stacked stone required cement board to support the additional weight. Once the wall was opened, we found a surprise: a live outlet box that was never connected!What? My dear husband moved it out of the line of where the new surround was going and connected it up properly. We now have another outlet, conveniently placed now for christmas lights on the mantel or whatever.


After attaching new cement board, we went to town laying out on the floor how we wanted the tiles arranged.

Then using a wet saw, we made a few cuts until we got it all how we wanted. Then it quickly went up using cement and a little tape to hold it for a few minutes while it set.

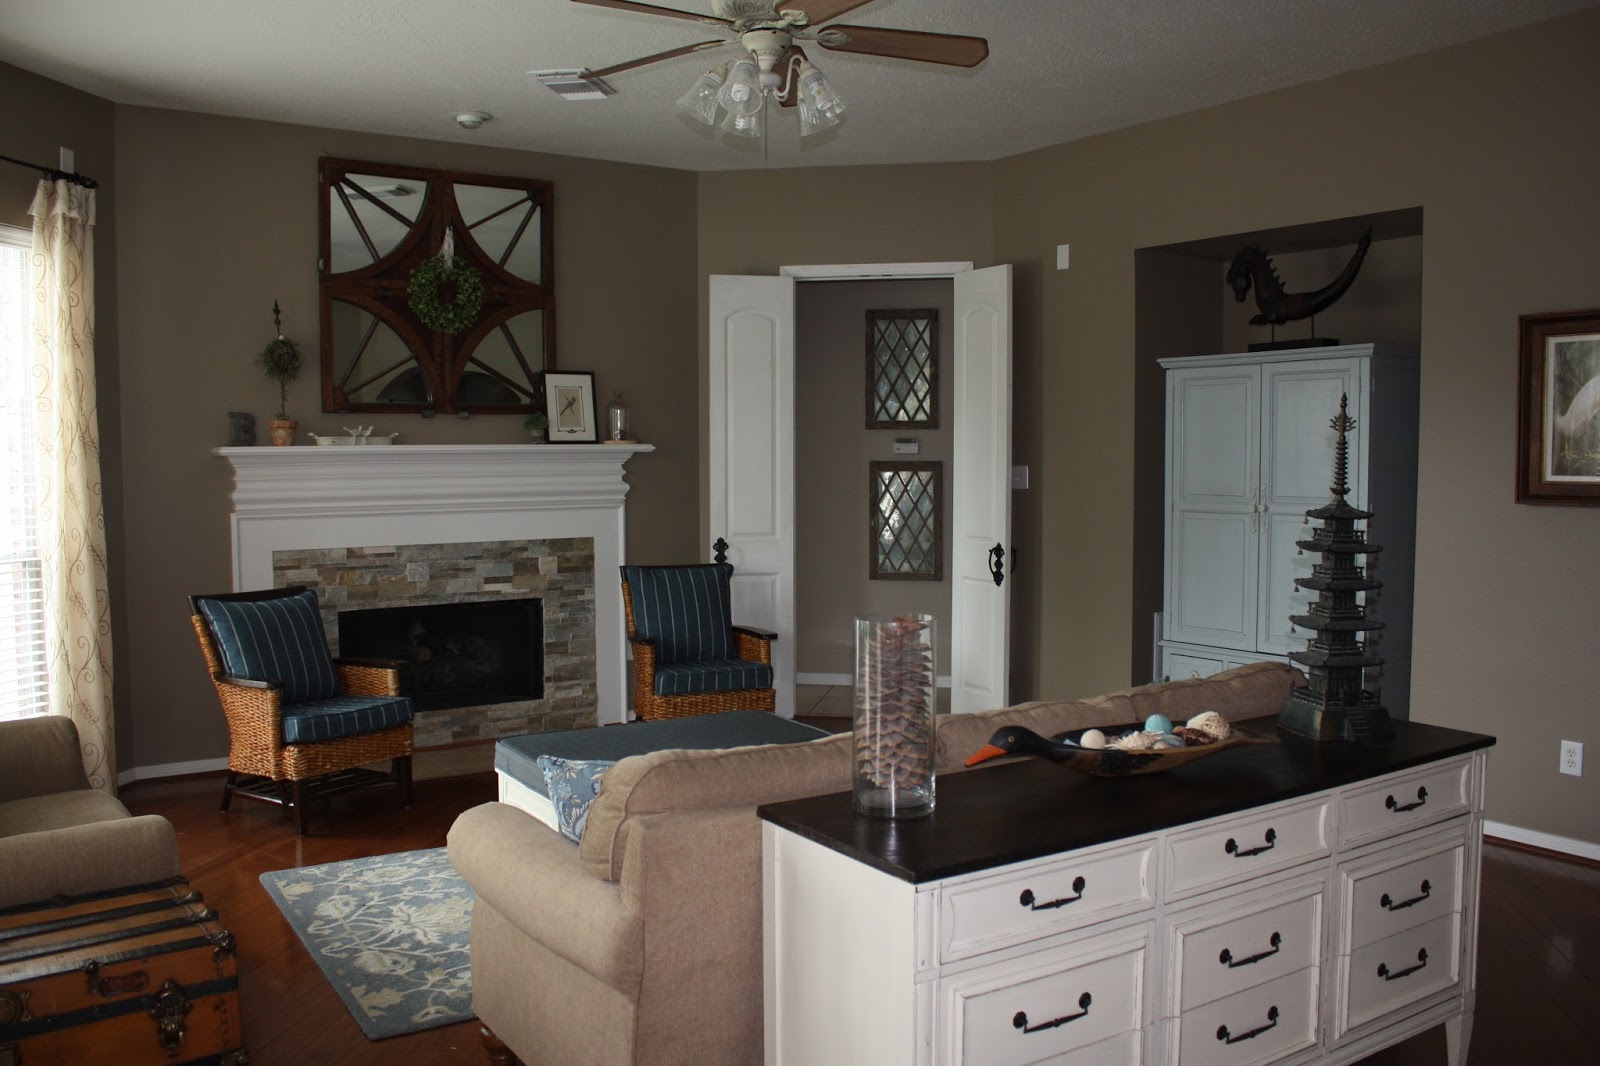
I love, love the texture and colors. It has enough of the beige colors to match the existing floors, but brings in the cooler gray shades I'm moving the house towards. Eventually we'll replace all the floor tile, but for now, the rooms focal point is no longer peach!!


The chairs got a facelift as well. I fell in love with this grain sack fabric and recovered the cushions! The old TV cabinet got a light look with some watery blue paint. The room feels so much lighter and closer to the coastal cottage feel the house seems to want.

The whole project came in at right about on $100. What a difference and upgrade!


