
Considering what a busy month it's been, I've gotten a lot more done on the den than I'd planned. I had surgery this month so most of this was done at the beginning of the month. I'm just starting to feel my energy come back today so I whipped out the faux roman shades for the den and it makes it look decent enough for a post.
The disclaimer: This is just the first phase. It's not done yet and I won't be getting to anything else until summer is over. What it's still missing is: an upper corner cabinet (my hubby is going to build it for me), shelves connecting the three upper cabinets, crown moulding on the tops of the three cabinets, bundle and hide all the cords and of course, the accessories and decorating fun!
Let us look at the before:

And here it is now:


I found 2 different sets of nightstands on craigslist and changed their hardware to match and be a bit more "office" (one set had crystal knobs- too girly for this job!)


This is a fun picture of my great-grandpa who worked the railroad in upstate NY. I had it blown up and plan on staining the frame the dark walnut of the desktop. The frame was actually made years ago by my Grandfather (this man's son!) This will be worked into the shelves that are to be built, but I had to put something up!!

The upper 2 cabinets were found really cheaply at a kitchen outlet. I painted them, roughed them up and added new hardware. I've already found some great crown moulding to add to the tops.

I found two of these old crates for more storage! It fits perfect in this little, awkward spot.

This room really needed lighting and I found these great retro desk lamps at Menards for only $15! I think I might grab a third for the other end of the desk...

I just finished these faux roman shades. I've wanted to do some IKAT fabric for a long time and this one had the perfect gray, tan and black combination I needed. I used this tutorial on youtube: http://www.youtube.com/watch?v=SxUPUtIuXIk

Here you can see how I cheated to make an inexpensive wood desktop. I glued together 12' lengths, used a few metal braces and then stained them dark walnut. A 2x2 was drilled underneath to the studs and then the wood desktop was screwed to that 2x2.


I still needed something for storage for my decorating and I scoured craigslist daily waiting for just the right piece. I knew it needed to be tall, have lots of storage, be cheap enough and just be different! Well, look what I found!!!
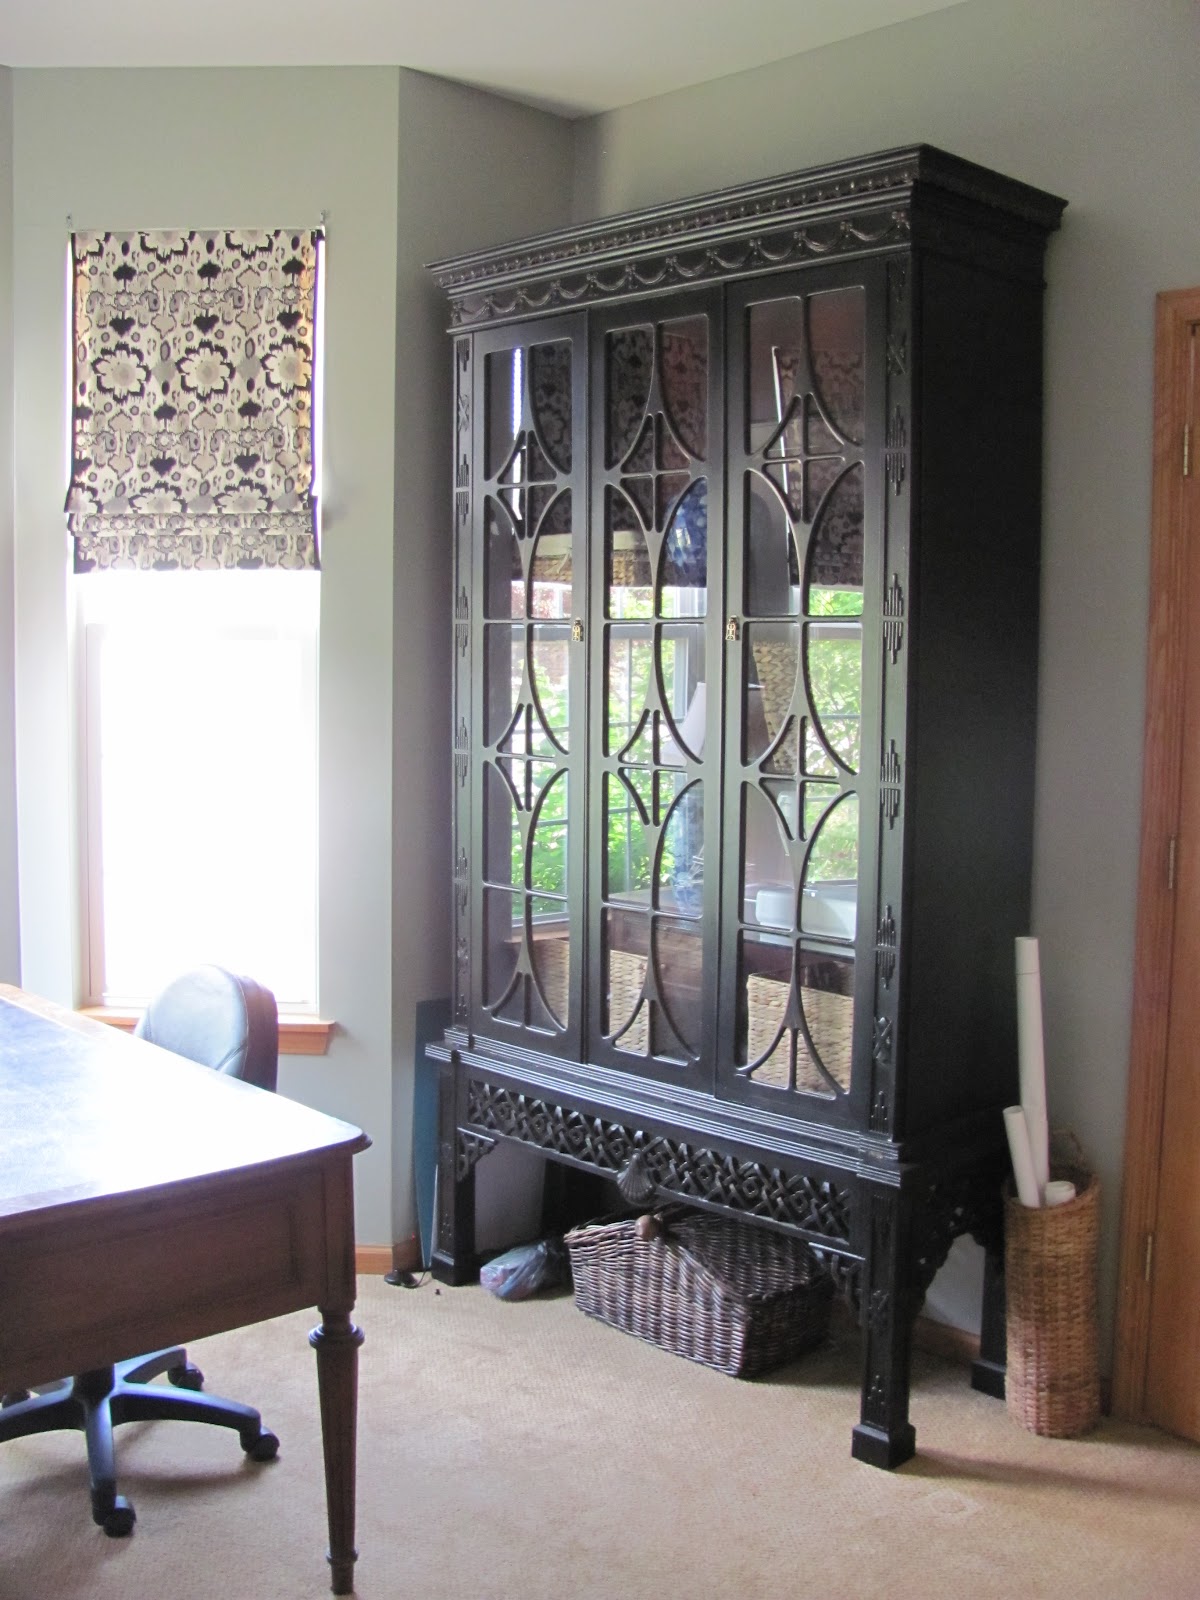

Isn't she great! It was already painted black and the inside red. I love the lights inside and believe it or not, it acts as another great light source when working in here in the evenings.

That's it so far. It's at least workable now and SOOOOO much better than it was before. I'm excited to finish it, but am content for now.


