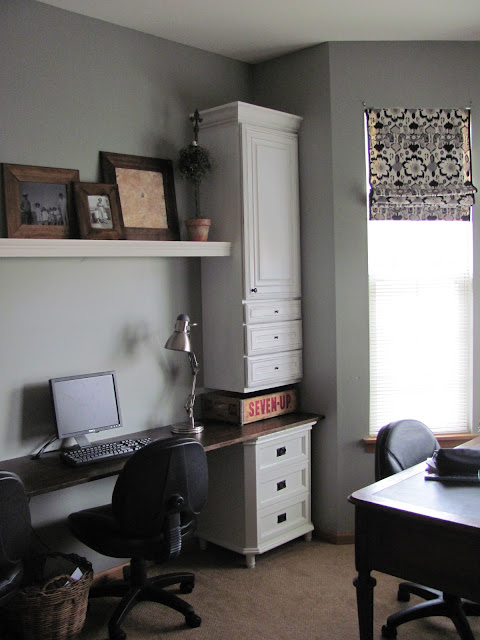
Now, it looks like this:
The Amazing Hubby built that upper corner unit to give some shelving and storage. He built a shelf on each wall, bridging the 3 cabinets and faced them with some moulding.
We found some nice chunky crown moulding at our Habitat ReStore to dress up the tops of the cabinets. It really makes them look more finished and custom and cost us a whopping $5 if I remember right.
I found these thick, wood frames at Hobby Lobby. They come unfinished so I stained them to look like the expensive ones I loved at Pottery Barn. I've found some old black and white photos of my family and still have to get some from my husband's side. I like the retro look it gives while still meaning a lot to our family.
I decided to raise my faux roman shades up one more fold to let in a bit more light. You can just barely see it in this picture:
We're so happy with how it's turning out. I can't even tell you how much more our teens use this room now. It just works so much better for us than before.
The last things we need to do to complete it are:
1. Cut holes in the lower corner cabinets to feed the computer wires through and neaten all that up.
2. Install wiring for a ceiling light (yup, the builder didn't put one in- so stupid!)
3. Install new light fixture for better work lighting (I'm so excited for this step- I've already found a beauty!)
I'll keep you updated.


